在導(dǎo)出RabbitMQ集群元數(shù)據(jù)時,RabbitMQ支持導(dǎo)出全部Vhost或某個指定的Vhost,而不支持導(dǎo)出部分Vhost。您可以先導(dǎo)出全部Vhost,然后在導(dǎo)出的元數(shù)據(jù)文件中刪除不需要的Vhost,從而間接實現(xiàn)導(dǎo)出部分Vhost。
前提條件
背景信息
hello1、hello_amqp、helloAMQP、example2test、example3test和/)。本文以導(dǎo)出其中4個Vhost (hello1、hello_amqp、helloAMQP、example2test)為例進(jìn)行說明。
導(dǎo)出部分Vhost
- 參考以下任一方式導(dǎo)出包括全部Vhost的RabbitMQ集群元數(shù)據(jù)文件。
- RabbitMQ控制臺
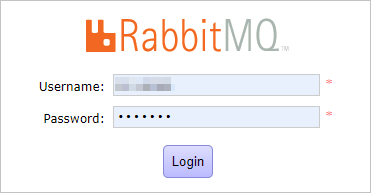
- 在瀏覽器打開RabbitMQ控制臺。
RabbitMQ控制臺地址:
http://<您的RabbitMQ IP地址>:15672/ - 在登錄頁面的Username文本框輸入您的用戶名,在Password文本框輸入您的密碼,然后單擊Login。
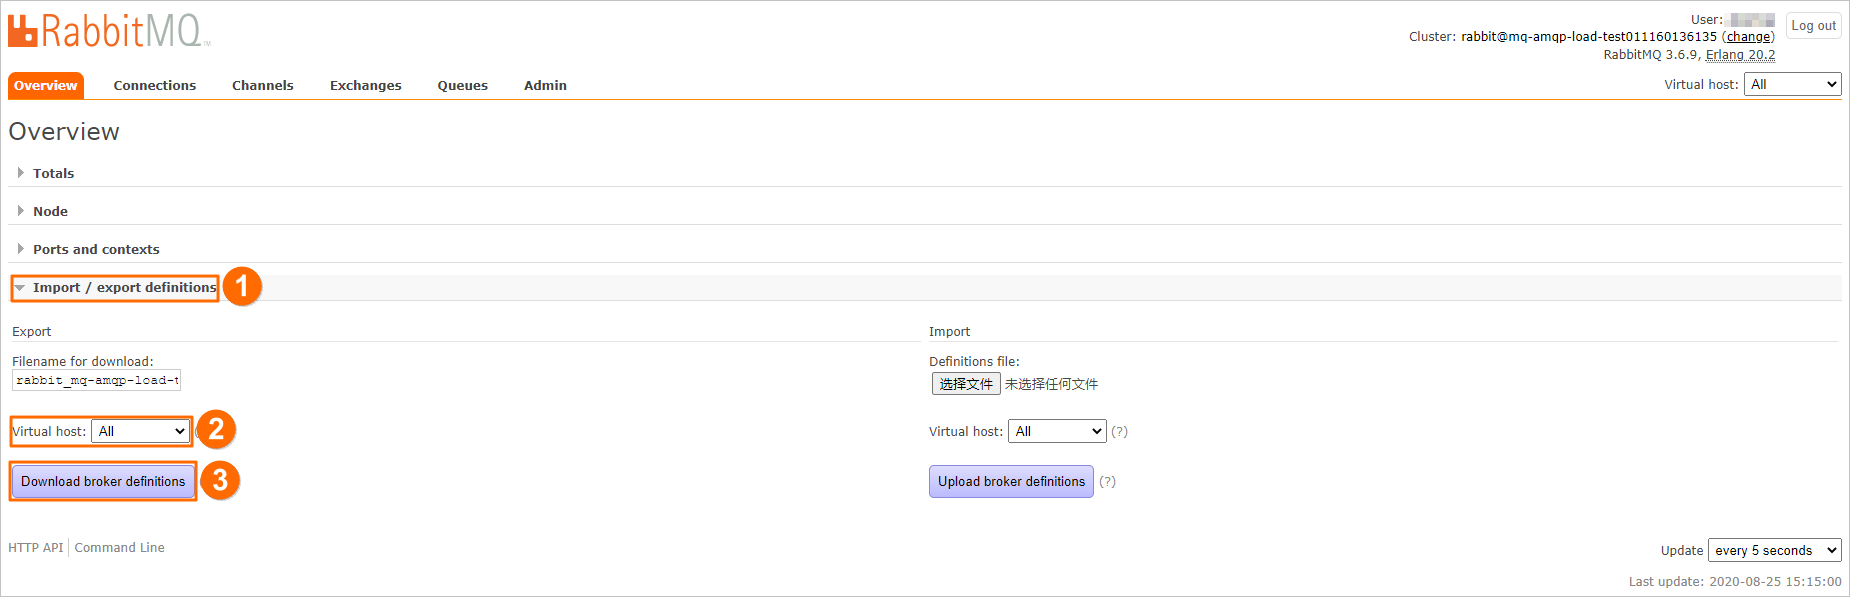
- 在Overview頁簽下方,單擊Import/export definitions,從Export區(qū)域的Virtual host列表,選擇All,然后單擊Download broker definitions。
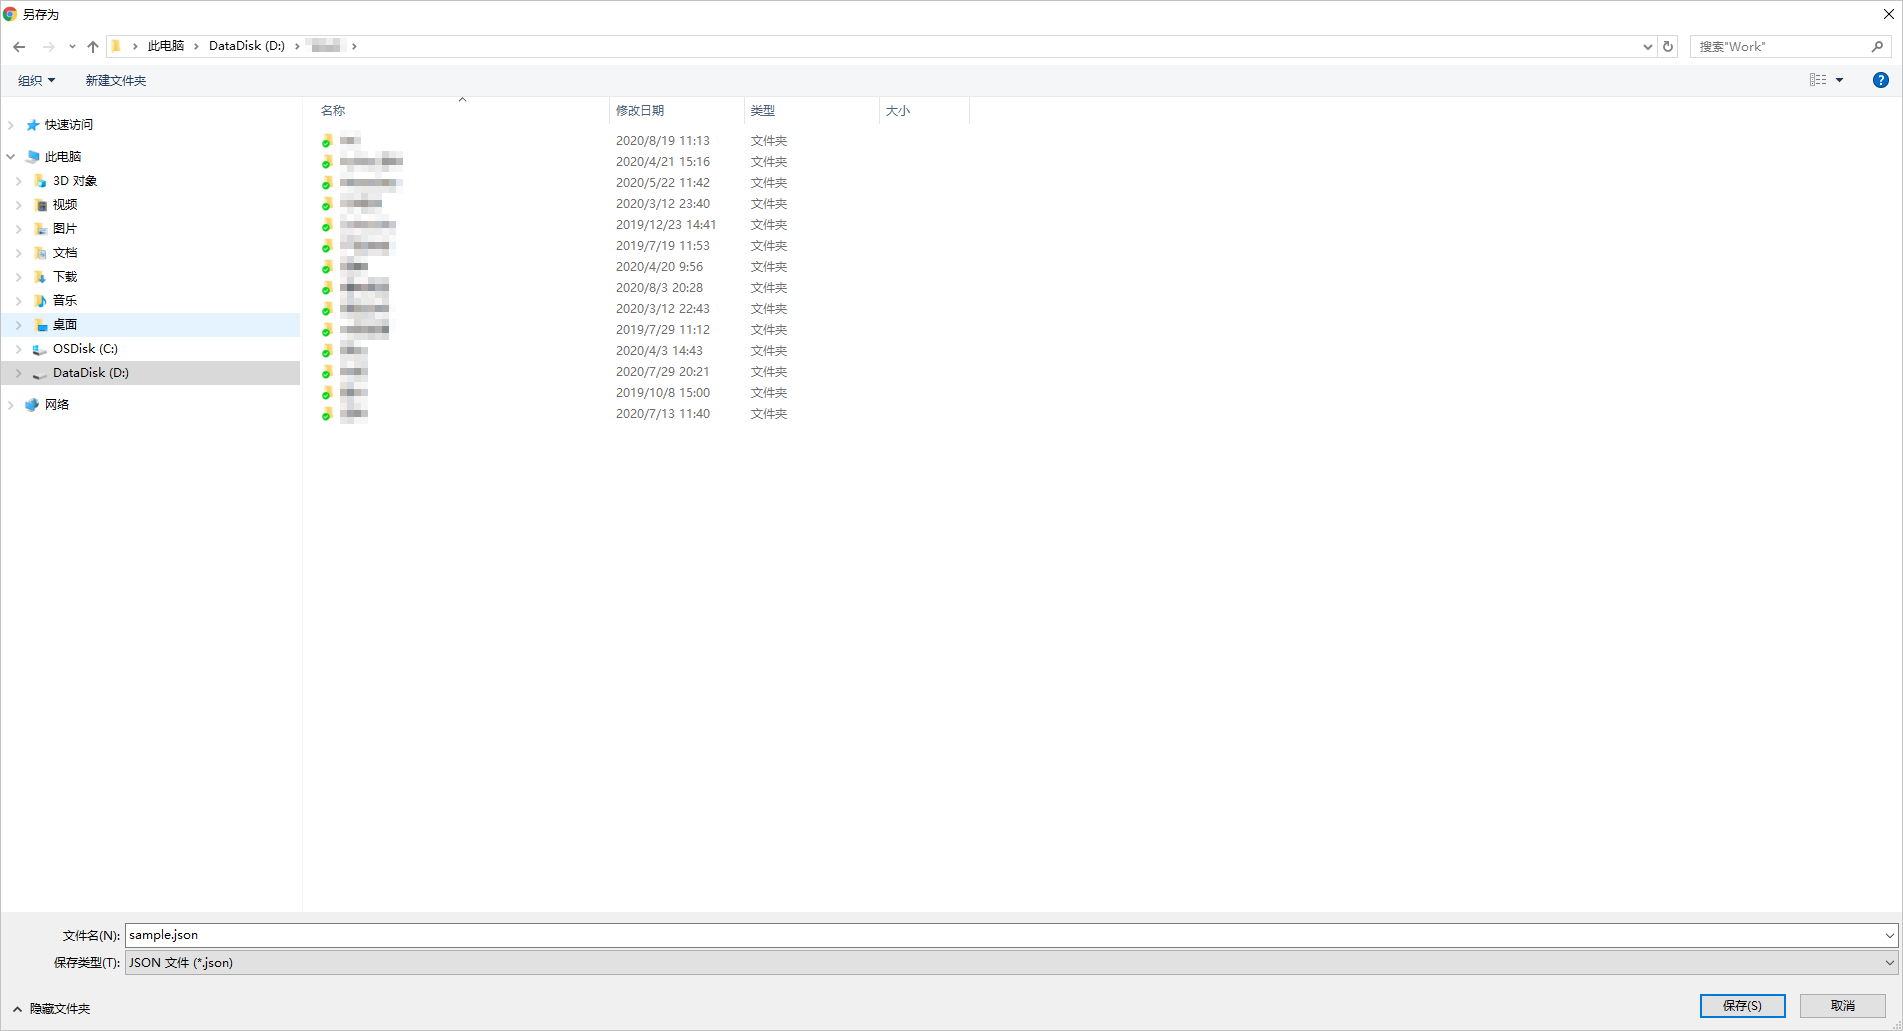
- 在另存為對話框,選擇RabbitMQ集群元數(shù)據(jù)文件保存路徑,然后單擊保存。
- 在瀏覽器打開RabbitMQ控制臺。
- RabbitMQ HTTP API
- 打開終端。
- 執(zhí)行以下命令導(dǎo)出RabbitMQ集群元數(shù)據(jù)文件。
wget --user <您的RabbitMQ賬號> --password <您的RabbitMQ密碼> http://<您的RabbitMQ IP地址>:15672/api/definitions -O <您的元數(shù)據(jù)文件保存路徑>
導(dǎo)出的RabbitMQ集群元數(shù)據(jù)文件的vhosts列表如下:{ "vhosts":[ { "name":"hello1" }, { "name":"hello_amqp" }, { "name":"helloAMQP" }, { "name":"example2test" }, { "name":"example3test" }, { "name":"/" } ] } - RabbitMQ控制臺